Industries
Get direct access to our extensive portfolio of optical products and specialist technical expertise.
Choosing a Small Tft Display in 2026 starts with the device, not the catalog. A screen that looks impressive on a product page may be hard to read inside a compact instrument or handheld unit. Match the display’s active area, resolution, and viewing angle to the information users must see. A few pixels can matter when the interface uses small labels or detailed graphics.
Check the interface before comparing prices. Confirm that the module works with your controller, available pins, and software, and review its datasheet for voltage, timing, and connector details. Brightness, contrast, and backlight power deserve attention too. A display tested under office lighting may behave differently in sunlight or a dim enclosure. Test it.
Touch input may simplify a product, but it can add cost, wiring, and design constraints. Consider whether users need gloves, whether the glass suits the enclosure, and how the display will be mounted. Small details matter. Ask suppliers about sample availability, production status, and support, then test the actual module with your hardware before committing. One specification rarely tells the whole story; even a careful shortlist may need revision after hands-on testing. This guide examines the practical trade-offs behind size, readability, compatibility, power, and long-term sourcing, so your choice fits the real product rather than an idealized spec sheet.
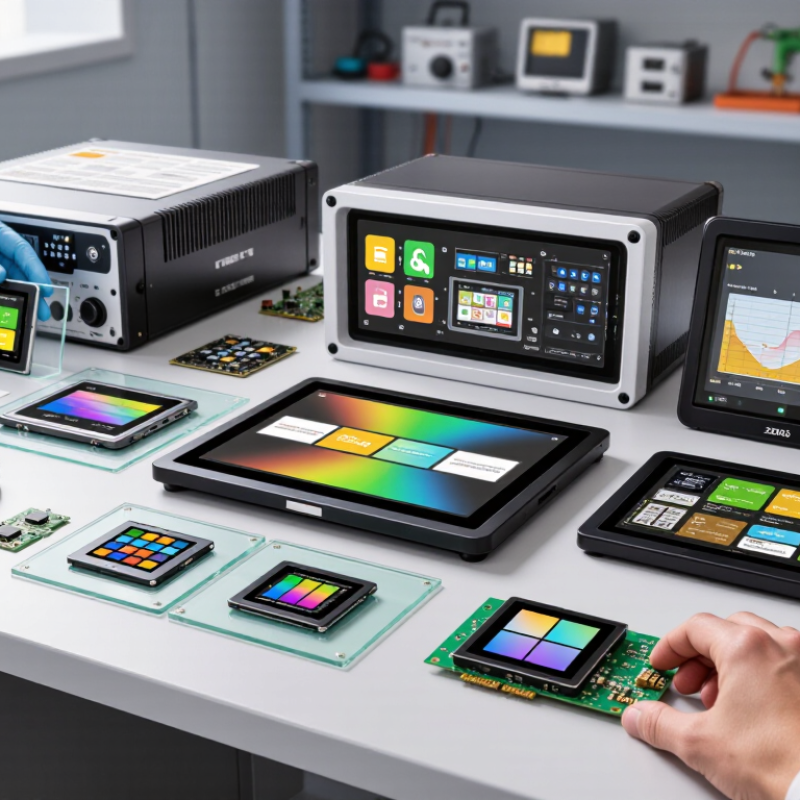
A small TFT display should be chosen for the job it performs, not just its diagonal measurement. A status screen on a desk may need only clear numbers and simple icons. A handheld meter needs readable text at arm’s length, even while the user moves. For a touch interface, leave enough room for fingers to select controls without hitting nearby buttons. Small details matter.
Measure the enclosure opening and the visible screen area separately. The panel’s stated diagonal does not tell you how much space its bezel will occupy. I still find this easy to misjudge. Viewing distance and angle matter, too. Check the display from the positions people will actually use, including off-center views. A wide viewing angle can preserve contrast when a panel sits low or sideways. Compare the pixel resolution with the smallest text you plan to show; tiny labels can blur into clutter. Test brightness under the real lighting, such as a bright workshop lamp or a shaded vehicle cabin. A specification sheet helps, but it cannot replace a quick physical mock-up. I would rather catch an awkward viewing angle before the enclosure is finalized.
Choosing a small TFT display starts with how people will view and use it. IPS panels usually keep colors and contrast more consistent at wide angles, useful when a device is mounted off-center. TN panels can be economical and responsive, but their viewing angles may feel restrictive. VA options can offer deeper blacks, though motion and viewing performance vary by panel. Check the actual datasheet, not just the panel label. Small differences matter.
Match resolution to screen size and viewing distance. A 3.5-inch display with 480 × 320 pixels can suit large controls and simple graphics, while denser screens make fine text and detailed maps easier to read. Higher resolution also raises demands on graphics hardware and power. Consider the interface at its real viewing distance; tiny text may remain tiny, even on a sharp panel.
Brightness needs depend on the enclosure and lighting. A screen used beside a sunlit window may need substantially more output than one inside a dim instrument panel. Compare typical brightness, reflections, and viewing angle together. Then choose touch technology: projected capacitive touch supports familiar gestures, while resistive touch can work with gloves or a firm stylus. Neither is ideal in every setting. Test the display with the intended cover glass, lighting, and fingers before committing; paper specifications can miss awkward glare or touch behavior.
A small TFT can look simple on a specification sheet, yet the wrong interface may add hours of wiring and debugging. Check how the display connects to your controller: SPI uses fewer pins and suits modest refresh needs, while parallel interfaces can move data faster but require more connections. RGB interfaces are common for larger, continuously refreshed screens. Confirm the controller’s supported interface, resolution, color format, and timing before ordering. A matching connector does not guarantee compatible signals.
Controller compatibility goes beyond pin count. Compare logic voltage, initialization commands, and the display controller’s supported features with your software and hardware. Then measure power under real conditions. The backlight often draws more current than the display logic, especially at high brightness. Check both normal operation and startup demand, and decide whether your supply can handle them. Small details matter. I have found that datasheets can leave practical questions unanswered, so test a sample with your own cables and power source. A short bench test may reveal dimming, slow updates, or unreliable startup before those issues reach a finished enclosure.
How to Choose a Small TFT Display in 2026?
Start with the conditions behind the glass. Measure the enclosure temperature, not just room temperature, and note sunlight, vibration, humidity, and daily operating hours. A display beside a warm motor may need a wider temperature rating than its surroundings suggest. Check brightness in the actual viewing position, too; a bright sample on a desk can look washed out behind tinted glass. Check the basics. Ask for temperature limits, backlight life assumptions, and test evidence, including relevant IEC 60068 environmental methods. The Global E-waste Monitor 2024 reports that 62 million tonnes of e-waste were generated worldwide in 2022, while only 22.3% was documented as formally collected and recycled. That makes replaceable cables, accessible mounting, and documented repair options practical durability considerations.
Availability needs equal attention. Confirm the module’s lifecycle status, minimum order quantity, lead time, and whether the controller and touch panel will remain unchanged. Request written notice periods for design changes, plus a second-source plan where possible. WSTS’s Fall 2024 forecast put global semiconductor sales at $697 billion for 2025, up 11.2% from its 2024 estimate. That is a broad market signal, not proof that a specific TFT module is in stock. Keep a tested spare. It costs space. I would still leave some thermal margin: datasheets rarely reveal every hot spot inside a finished enclosure.
Assess operating conditions, durability, and product availability before selecting a module.
How to use this chart: The ranges shown are common indicative examples, not universal specifications. Confirm the operating and storage limits for the complete display module—including its backlight and controller—in the datasheet. For durability, check humidity, vibration, sunlight readability, and expected service life. For availability, verify lead times, lifecycle status, and whether a compatible replacement is qualified.
A small TFT display can look suitable on a specification sheet and still fail in its intended enclosure. Verify the choice with a working prototype before committing to a production design. Mount the panel behind the actual front window, then check viewing angles, reflections, and whether nearby buttons remain easy to reach.
Use the intended processor, cables, power supply, and firmware during testing. A display that works on a clean bench may flicker when a motor starts or become slow while the system handles other tasks. Check startup time, touch response if applicable, and readability under both bright room light and dim conditions. Small details matter. Record the results, including test conditions, so another engineer can repeat them.
Run the prototype for extended periods and across expected operating temperatures. Watch for loose connectors, uneven backlighting, and image retention after static screens. These checks will not predict every field problem, and one prototype may hide assembly variation. That limitation is easy to underestimate. Build several units if possible, and test them in the complete product rather than relying only on a display bench. Keep any unresolved issues visible in the design notes; a tidy test report should not make uncertain results look conclusive.
Use this prototype evaluation matrix to compare candidate displays in the intended enclosure and operating environment. Acceptance targets below are project-level starting points, not universal display specifications; confirm them against the application requirements and each candidate’s datasheet.
| Evaluation dimension | What to verify | Prototype test / method | Example project acceptance target | Record for each candidate |
|---|---|---|---|---|
| Viewable size and fit | Active-area dimensions, bezel, mounting points, connector position, and cable bend clearance. | Install the sample in a full-scale enclosure mock-up; check assembly access and viewing distance. | No mechanical interference; all critical content is readable from the specified user position. | Active area (mm), outline (mm), mounting and cable-clearance notes. |
| Resolution and legibility | Pixel resolution, text size, icon detail, and scaling at the intended viewing distance. | Display the actual interface, including smallest text, thin lines, and localized strings; review with representative users. | All required content is legible without clipping or awkward scaling at the normal viewing distance. | Resolution (pixels), minimum readable text size, user-review results. |
| Brightness and ambient light | Measured luminance, dimming range, reflections, and readability in expected lighting. | Measure a white test image with a luminance meter; assess the interface under representative indoor and bright-light conditions. | Meets the project’s minimum luminance requirement and remains readable in the defined ambient-light conditions. | Luminance (cd/m²), measurement setting, ambient-light conditions, readability notes. |
| Viewing angle and orientation | Contrast, color shift, and image inversion from expected user positions and orientations. | View the interface at the expected horizontal and vertical angles; repeat in portrait or landscape orientation as applicable. | Critical text and indicators remain identifiable from all required viewing positions. | Required viewing angles, orientation, contrast or color observations. |
| Touch performance (if applicable) | Touch accuracy, edge response, multi-touch needs, and operation with expected gloves or stylus. | Run repeated taps on a grid of targets, including near the edges; test the specified input conditions. | Meets the project’s target-size and touch-error requirements with no missed critical controls. | Touch technology, tested target size, error count, glove or stylus results. |
| Interface and software integration | Supported display interface, controller compatibility, initialization, frame rate, and recovery behavior. | Integrate with the intended processor and firmware; exercise startup, screen updates, sleep, wake, and reset cycles. | Stable operation with the production-intent hardware and software; no recurring artifacts or failed recovery. | Interface, driver changes, update performance, startup and recovery results. |
| Power and thermal behavior | Display and backlight current, brightness-dependent consumption, and temperature in the assembled system. | Measure current at defined brightness levels and run the system in its enclosure during a representative workload. | Fits the system power budget and stays within the operating limits specified for the selected components. | Voltage, current (mA), brightness setting, measured temperature, test duration. |
| Environmental and durability checks | Operation across the product’s required temperature range, plus relevant vibration, handling, or cleaning exposure. | Test using the product’s defined environmental profile and approved procedures; inspect operation before and after exposure. | No unacceptable image, touch, mechanical, or functional issues within the project’s specified conditions. | Test conditions, duration, interruptions, and before/after observations. |
| System-level decision | Combined usability, fit, integration risk, power, and test results—not panel specifications alone. | Compare candidates using the same enclosure, firmware build, interface content, and test conditions. | Select a candidate that passes all mandatory requirements; document trade-offs and unresolved risks. | Pass/fail by requirement, weighted score if used, open issues, final rationale. |
Decision rule: Reject any prototype that fails a mandatory requirement. Among the remaining candidates, choose the one that performs best in the assembled system and meets the project’s cost, supply, and service-life constraints.